
Last updated November 18, 2026








Free written scope consultation - allowances, timeline, and change-order rules on paper before a single trade is scheduled
Home Remodeling Maintenance Schedule: What to Do and When
The grout your contractor sealed on day one starts losing that protection in about 12 months, and nobody hands you a calendar when the crew packs up. Most maintenance schedules are written for brand-new construction. A remodeled home is different: it has two ages running at once. The original structure keeps aging on its own clock while the new work sits on a separate warranty and materials clock. That split is the whole reason a standard checklist falls short. This guide gives Winchester homeowners a dual-track maintenance calendar, separating the tasks that protect your remodel from the tasks that protect the house around it.
Quick Answer
A remodeled home needs two maintenance tracks. The first protects the new work: re-sealing grout and caulk every 12 months, checking cabinet hardware and drawer glides at 30 days and 6 months, and keeping moisture out of new tile and countertop seams. The second protects the original house: roof, HVAC, plumbing shutoffs and the framing that holds everything together. In Winchester, heat cycling from desert sun speeds up how fast caulk and grout expand and contract, so you can expect to re-seal sooner than owners in humid climates. Most of this work is a few hours a year. Miss it, and a small failure turns into a repair.
Styles & brands we work with
- Kitchen remodeling
- Bathroom remodeling
- Home additions & ADU
- Roofing
- Windows & doors
- Driveway & pavers
- Fence
Table of Contents
- Why Remodeled Spaces Have Two Timelines
- The First 30 Days After a Remodel
- The 6-Month Checkpoint
- The 12-Month Walkthrough
- How Winchester’s Desert Climate Changes the Schedule
- Which Tasks Keep Your Guarantee Valid
- Kitchen, Bath and Flooring Tasks by Interval
- Your Copy-Paste Annual Checklist
Why Remodeled Spaces Have Two Timelines
A kitchen remodel is a new room bolted onto an old house. The cabinets, countertop and tile are new. The wall behind them, the floor underneath and the plumbing feeding the sink may be 30 or 40 years old. Those two systems fail in different ways and on different clocks, and that is why a single generic checklist misses things.
The new work is mostly on a warranty clock. Your cabinetry, your countertop, your fixtures and your kitchen remodeling in Winchester work all carry material and installation warranties. Cambria quartz, for example, carries its own lifetime warranty alongside ours, and that warranty assumes the surface is treated correctly. Break a seam on a countertop because you set a hot pan on it, and the coverage question gets complicated fast.
The original house is on a structural clock. Siding, roof, framing and the moisture barriers behind new work age whether or not you remodeled. Water intrusion behind new tile is the classic failure: the tile looks fine while the cement board substrate (the moisture-resistant layer behind your tile) quietly takes on water because a seal failed a year ago.
Here is the split in practice:
- Protect-the-remodel tasks: sealing grout and caulk, checking cabinet hardware, cleaning and protecting counters, watching seams and fixture connections.
- Protect-the-house tasks: roof and flashing inspection, HVAC filter changes, water heater flush, exterior caulking, checking shutoff valves, drainage and grading.
Both tracks matter in Winchester. We’ve seen a failed tub surround treated as a warranty issue when the actual cause was a decades-old pipe joint behind the wall. Knowing which track a problem belongs to saves you a call and often a bill.
The First 30 Days After a Remodel
The first month is when small adjustments happen. New materials settle. Doors and drawers that stuck slightly at installation either loosen up or need a nudge. This is the window to catch the little things while they’re still easy, and it’s the time to document what you have.
Walk through the finished space and do the following:
- Photograph everything. Take clear photos of every completed area, including the inside of cabinets, under sinks and behind appliances. Serial numbers on appliances go in the same folder. This becomes your reference if anything needs service later.
- Check every drawer and door. Open and close them a few times. Slightly stiff hinges and drawer glides are normal at first and usually adjust with a screwdriver. Note anything that scrapes, binds or won’t sit flush.
- Test the water connections. Run every sink and look under the cabinet at the supply lines and shutoff valves for a slow weep. A dry paper towel under each connection after an hour of normal use tells you a lot.
- Wipe and watch the grout. After shower or sink use, check that grout lines are uniform in color and the caulk seams along the counter and tub are solid, not pulling away.
- Set your appliance rings and verify outlets. Confirm GFCI outlets trip and reset as they should. Note where the water shutoffs are so you can reach them quickly.
- File your paperwork. Keep the written price, the written guarantee and the brand warranty cards together. Every job we do comes with your written number, and the guarantee is written into it.
If something looks off in this window, report it. It’s the cleanest time to fix an adjustment, and it’s what the 365-Day Done Right Promise is for. If it’s not done right, we make it right.
The 6-Month Checkpoint
At six months, the new rooms have lived through a full season of normal use. This is not a deep-cleaning visit so much as a condition check. Most homeowners can do it in under an hour with a flashlight and a notepad.
Go through the areas that matter most:
- Cabinetry: Re-tighten any hinge that has loosened. Check that drawers glide evenly the full length. Look at the toe kick and base for any sign of moisture.
- Countertops: Inspect seams on the new quartz or stone counter. Run a fingertip along the edge and watch for chips near the sink and edge. Use a cutting board rather than cutting on the surface, which is what every countertop warranty assumes.
- Tile and grout: Check for cracked grout lines, especially around shower niches and the base of walls. If a line has opened, have it caulked or re-grouted to keep water out of the substrate.
- Windows and doors: Open and close every window in the remodeled space. Check the weatherstripping and look for daylight gaps. Look for hairline cracks in the drywall at door corners, common as a house moves with the seasons.
- Caulk around the tub and counter: Press along the seam. Any spot that shifts or pulls away is a working leak and should be re-caulked. In Winchester, the desert swing between hot days and cool nights works this caulk harder than a humid climate would.
Keep a running note. A dated list of what you checked and what you fixed is the single best defense if a warranty question ever comes up, both for the material manufacturer and for your own records.
The 12-Month Walkthrough
Twelve months is the big one. The grout sealer is near the end of its useful life, the caulk seams have taken a year of heat cycling, and you now have a full year of seasonal data on how the new work behaves. This is when you re-seal, re-caulk and reset the year.
Work through the annual list in order:
- Re-seal grout in the bathroom and kitchen. Test first: splash a little water on a grout line. If it beads, the sealer is holding. If it soaks in and darkens, it’s time to re-seal. Expect once a year in Winchester.
- Re-caulk every seam. Counter backsplashes, tub edges, shower corners and any exterior penetrations. Remove old caulk before you lay new; fresh caulk over old caulk fails early.
- Inspect the tile and substrate signs. Look for loose tiles, hollow-sounding spots and dark grout lines. Those can point to moisture behind the bathroom remodeling in Winchester work, and early detection saves the trouble of replacing the cement board substrate later.
- Check the roof and exterior. Get a roof and flashing look from the ground each year, and have the roof inspected every few years. Replace damaged shingles when you find them.
- Change HVAC filters and flush the water heater. Both are original-house tasks that protect the whole home, and both are easy to forget once a remodel keeps you focused on the new rooms.
- Exterior caulk, siding and paint: James Hardie siding is durable, but the caulk lines around it need inspection. Re-caulk gaps before summer, not after.
- Test safety devices. Smoke and carbon monoxide alarms, plus any GFCI outlets in wet areas.
Do this walkthrough in the spring if you can. In Winchester, that lines you up before the summer heat and gives the caulk its best chance to cure before the temperature swings.
How Winchester’s Desert Climate Changes the Schedule
Desert heat cycling is the single biggest local variable, and it’s why homeowners in Winchester can’t borrow a maintenance schedule from the coast. Caulk, grout and sealants in this climate expand and contract faster than they do in a humid climate, because a hot afternoon and a cool night push on the same material twice a day.
Here is what that means in practice:
- Re-seal sooner. Grout sealer can need refreshing every 12 months rather than every 18 or 24. Caulk around tubs and counters in Winchester stretches, cracks and pulls away earlier for the same reason.
- Watch sun exposure. South and west facing windows soak up heat all day. New window installs using CWS or ES Window Systems handles deserve a look at the interior caulk line once a year.
- Mind the seasons. Spring and fall are the best times for re-sealing and re-caulking because the temperatures are mild and the sealant cures evenly. Summer afternoons and winter nights are hard on fresh material.
- Watch interior humidity. Running the HVAC in dry air keeps the interior stable. New wood cabinetry and flooring settle better under steady humidity than under wide swings.
- Keep an eye on the exterior. UV and heat are hard on exterior caulk and paint. Look at the siding and window trim each spring.
Whether you’re in Winchester proper or out toward the edges of the valley, the same heat cycling applies. The short version: in this climate, a 12-month re-seal is the norm, not a recommendation.
Which Tasks Keep Your Guarantee Valid
Warranties have conditions, and most homeowners never read them. Skipping the maintenance those conditions require can leave you with a failed piece of work and no coverage, whether the question is with the material brand or the installer. This is where the terms of our 365-Day Done Right Promise matter: to keep it valid, you do the routine care, and we make it right if the work itself fails.
The tasks that protect coverage are the straightforward ones:
- Use the countertop properly. No hot pans directly on the quartz, and use a cutting board. Cambria, Silestone and Caesarstone all assume normal care, and damage from neglect falls outside any warranty.
- Keep the tile sealed. Manufacturers expect periodic re-sealing. Let water soak into unsealed grout and the moisture works into the substrate behind the tile, which no warranty covers.
- Re-caulk before it fails. Replace the caulk at tub and counter seams before water gets behind them. A pulled seal left open is a common reason a claim gets denied.
- Keep the paperwork. The written price and the written guarantee are your proof if a warranty question comes up. Keep the brand cards: Kohler and Moen fixtures, KraftMaid or Wellborn cabinets each have their own coverage in addition to ours.
- Report issues promptly. If a repair fails, the free second visit is part of the deal. Report it when you see it, not a year later.
None of this is a gotcha. These are the same care steps the material makers ask for. Do the yearly walkthrough and the coverage stays clean.
Kitchen, Bath and Flooring Tasks by Interval
Here’s a quick reference organized by the room most homeowners remodel first. Use the intervals as a starting point and adjust for how hard your space works.
Kitchen
- 30 days: Adjust drawer glides and hinges; test the sink connections and shutoffs.
- 6 months: Check counter seams and edges; look under the sink for moisture; clean the range hood and filter.
- 12 months: Re-seal backsplash grout; re-caulk the seam between counter and wall; check the cabinet box and base for settling.
Bathroom
- 30 days: Confirm drains work freely; verify the fan pulls moisture; look at the shower corners.
- 6 months: Check grout and caulk at every seam; clean the fan and look for peeling paint on the bathroom ceiling, a sign of moisture.
- 12 months: Re-seal grout and re-caulk all seams; check tile for hollow spots; confirm the tub and toilet are firmly set.
Flooring
- 30 days: Check for squeaks and gaps at transitions; re-tighten threshold strips if loose.
- 6 months: Look for lifted edges on tile and wood; keep the HVAC humidity steady in the rooms you remodeled.
- 12 months: Inspect grout lines on tile flooring; re-seal where the floor was sealed on install; check the seal on any exterior door at the flooring transition.
If a kitchen full of KraftMaid or Wellborn cabinets and Cambria counters is on your list, the kitchen remodeling page lays out the plan and the price. Every project carries a written price up front and the 365-Day Done Right Promise.
Your Copy-Paste Annual Checklist
Print this or copy it into a note on your phone and tape it inside a cabinet door where you’ll see it. The intervals follow what we see working in Winchester homes.
30 Days
- Photograph new work and file serial numbers and warranty cards.
- Test drawers, doors, hinges and glides.
- Check water connections under every sink.
- Confirm GFCI outlets trip and reset.
6 Months
- Re-tighten loose hinges and drawer glides.
- Inspect counter seams and edges.
- Check caulk at tub and counter seams.
- Open and close windows; check weatherstripping.
12 Months
- Re-seal grout in kitchen and bath (test first).
- Re-caulk all seams; remove old caulk before applying new.
- Inspect tile for hollow or loose spots.
- Check the roof, flashing and exterior caulk.
- Change HVAC filters; flush the water heater.
- Test smoke and carbon monoxide alarms.
That’s about an hour of work three times a year, most of it a look and a wipe. Fewer surprises, longer-lasting work, and a clean paper trail.
Common Mistakes to Avoid
- Treating sealer as permanent. Grout sealer wears out in about a year. Skip re-sealing and moisture quietly reaches the substrate behind the tile.
- Caulking over old caulk. Fresh caulk laid over a failing bead peels off within months. Remove the old seal first.
- Borrowing a checklist from a humid climate. A schedule written for a damp, coastal home assumes sealants last longer than they do in Winchester’s heat cycling.
- Ignoring the original house. A remodel doesn’t reset the roof, HVAC or water heater. Keep those on their own schedule or a small failure becomes a five-figure repair.
- Not reading the warranty conditions. Countertop, cabinet and fixture warranties assume normal care. Skip the maintenance they ask for and a valid claim turns into a hard conversation.
- Skipping the first walkthrough. Adjustments caught at 30 days are usually easy. Put them off and a loose glide or a weeping connection becomes a bigger fix.
- Forgetting to document. Photos, serial numbers and the written price and guarantee are the paper trail if a service or warranty question comes up down the line.
See the difference
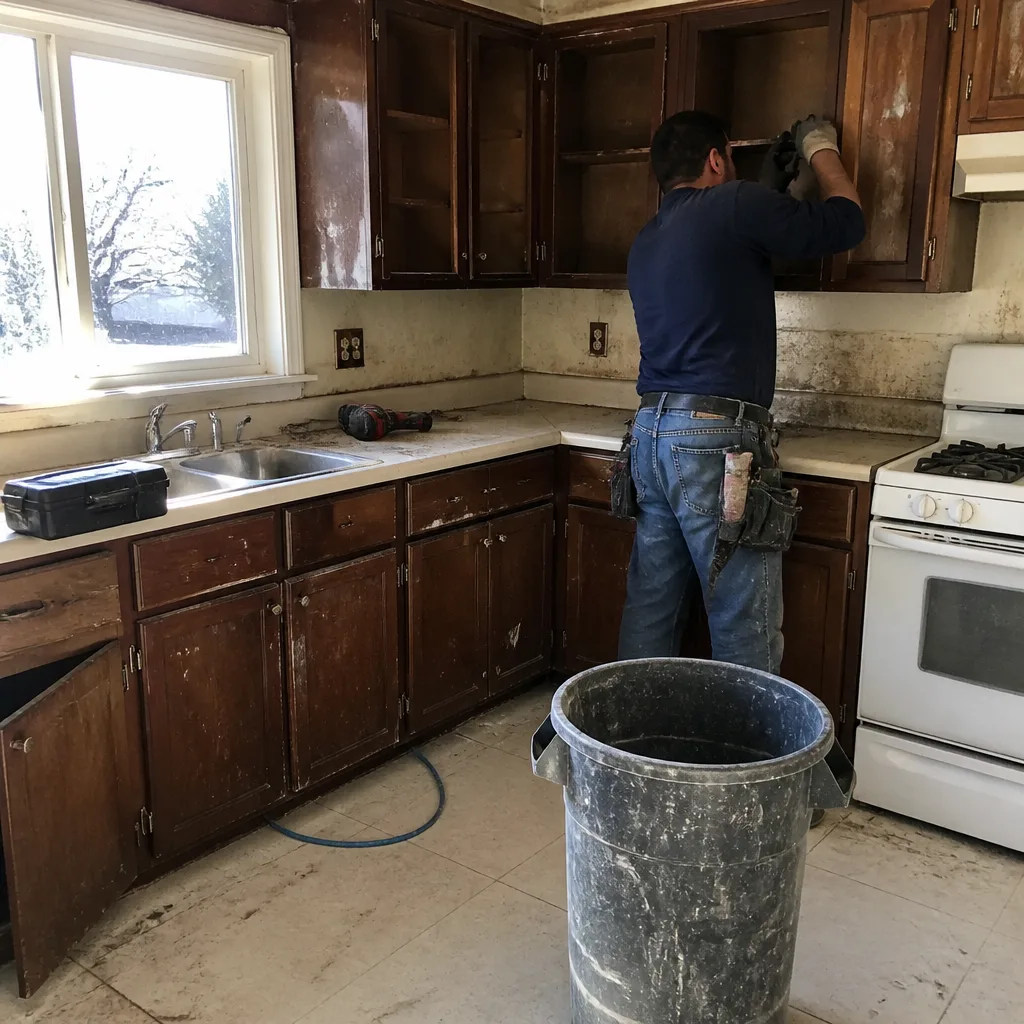 Before
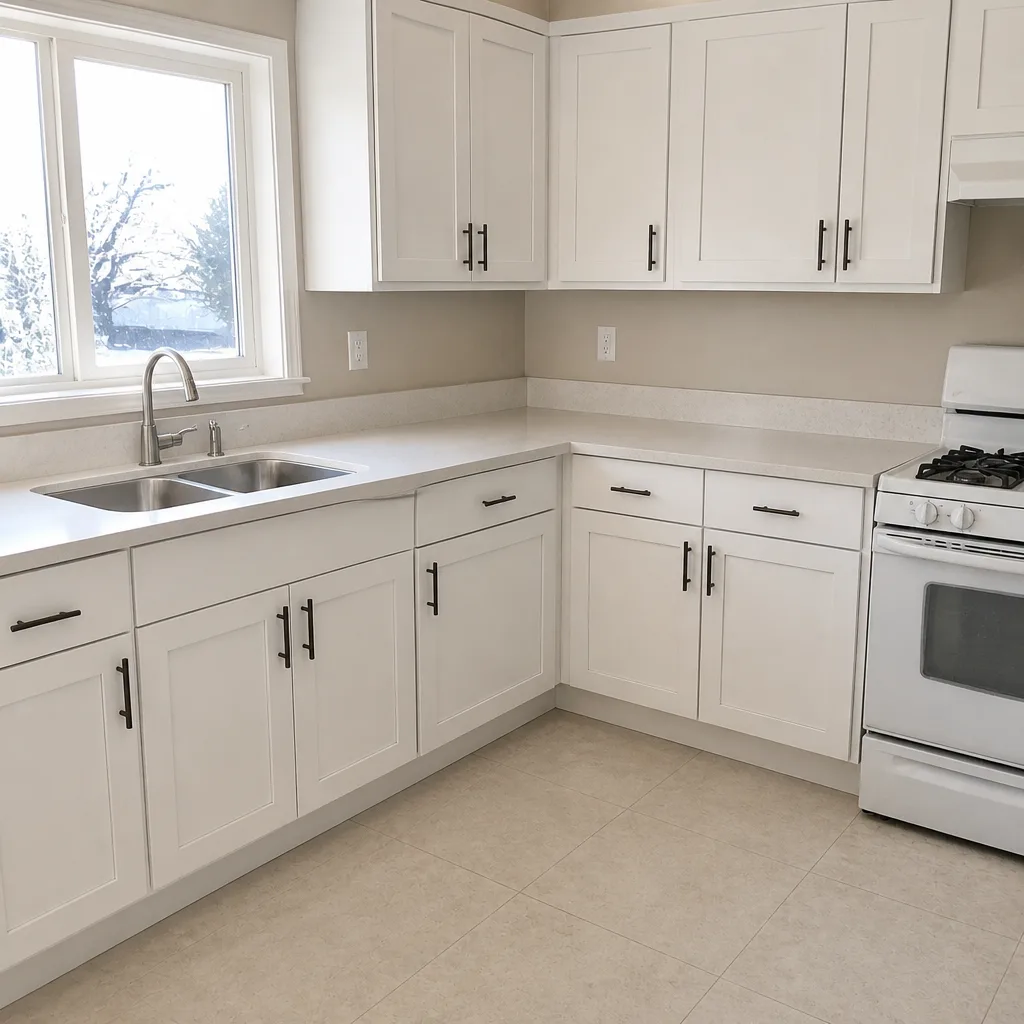 After
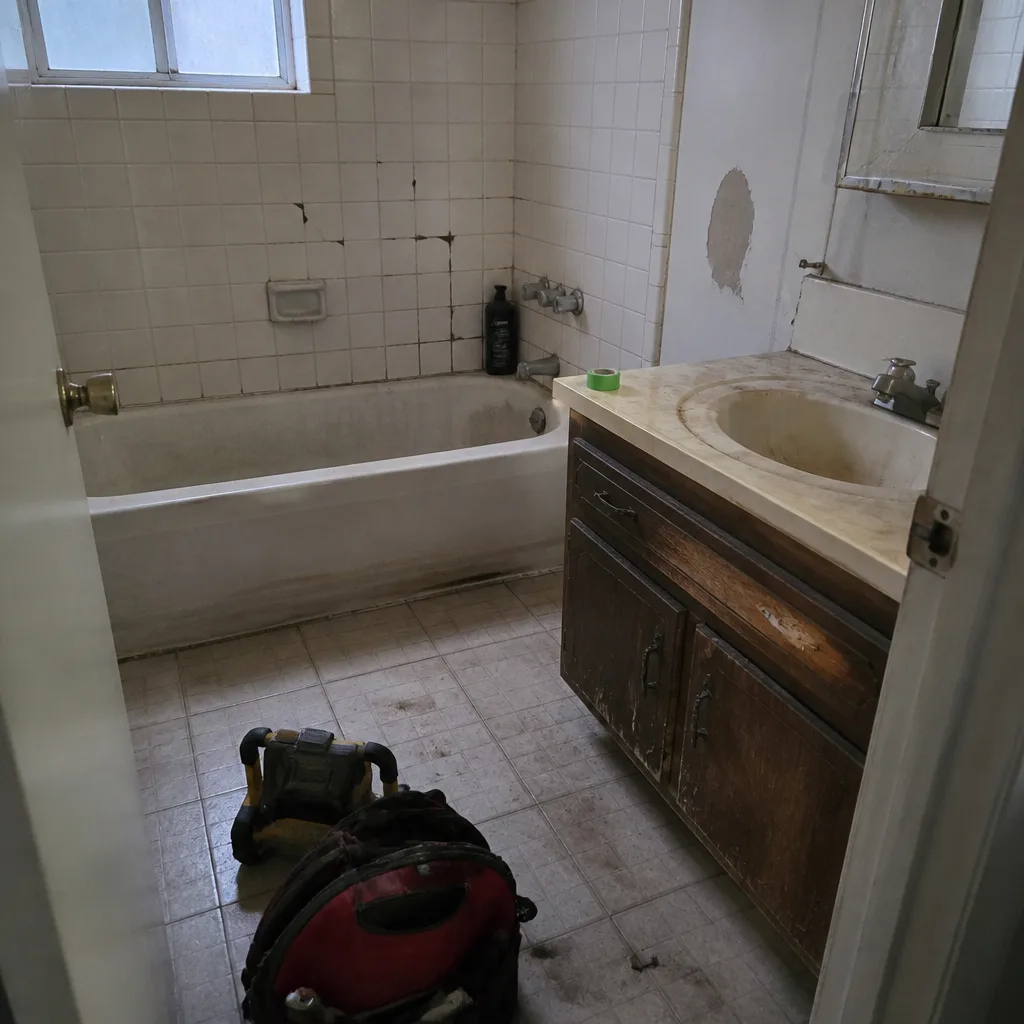 Before
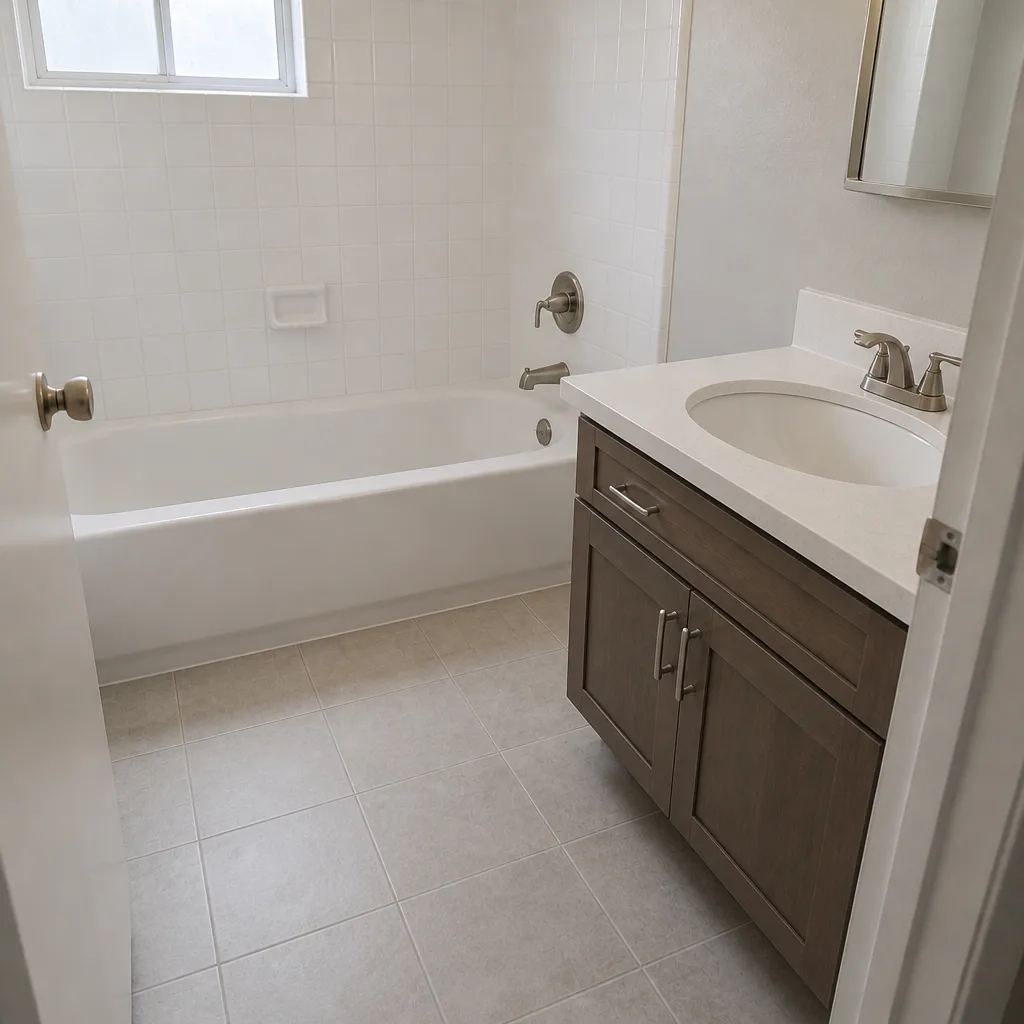 After
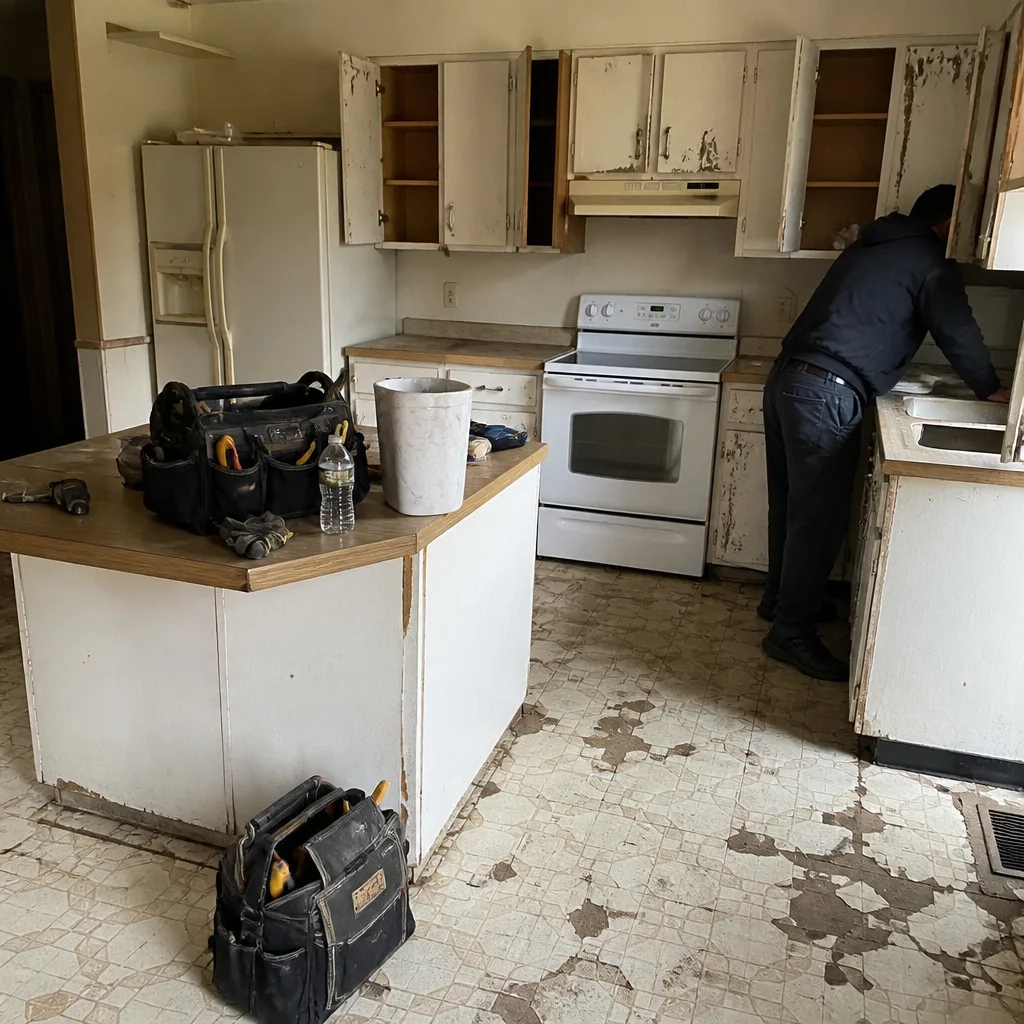 Before
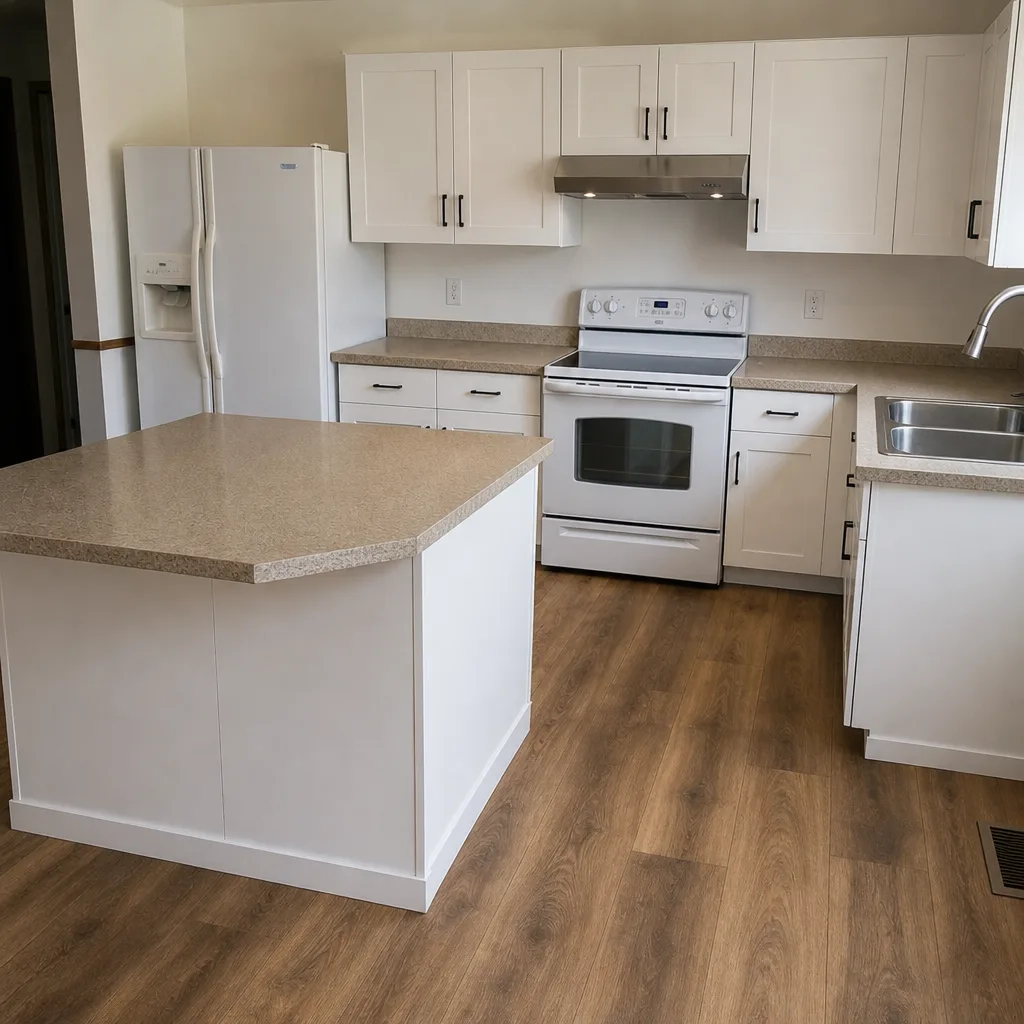 After
When to Call a Professional
Most of this list you can do yourself. A few things need a trained eye, and a few mean calling before you touch anything. Call a professional when you find water behind tile or under a cabinet, when a counter seam has cracked, when a tub or shower floor feels soft, or when the roof shows missing shingles or a flashing problem. If the repair goes behind a finished wall or into the substrate, it’s past the point of a quick fix. Don’t re-caulk over a leak you haven’t found; the water goes somewhere and that somewhere is usually the framing. If you’re uncertain what a warranty covers, ask before you start. Penhallow Remodeling, part of the Kingswell family of companies operating to The Kingswell Way, gives a written price before any work starts and backs it with a written guarantee. Call (844) 797-9439 for your free estimate.
Frequently Asked Questions

Once a year is the safe interval in Winchester. Desert heat cycling makes caulk and grout expand and contract faster than in humid climates, so a 12-month re-seal holds up better than waiting 18 or 24 months. Test a grout line with a splash of water; if it soaks in, re-seal. Call (844) 797-9439 for an exact quote if you’d rather have it done for you, and estimates are free.
Yes, for most of it. Material warranties from brands like Cambria, KraftMaid and Wellborn assume normal care and periodic re-sealing. Keep your written price, written guarantee and brand cards together, and report anything that fails promptly. Call (844) 797-9439 if you’re unsure whether a task falls inside the guarantee.
It depends on how far the water got. Replacing grout and caulk runs a few hundred dollars; replacing the cement board substrate and tile typically runs $1,500 to $5,000 depending on how much has to come out. Catching it at the 6-month check keeps you on the low end. Call (844) 797-9439 for a written quote before any work starts.
Start with the water connections under every sink and the drawer glides. A quick look under each cabinet and a test of every drawer catches the small problems while they’re easy. Then photograph the work and file the paperwork. Call (844) 797-9439 if something looks off and we’ll take a look.
No. Every job comes with a written price before any work begins, so the number on day one is the number on the invoice. Not an estimate range and not a verbal ballpark. Call (844) 797-9439 to schedule your free estimate and see the written price for yourself.
Yes. Permits and inspections are part of the job on work that requires them, and they’re done before the project is signed off. It’s your protection as much as ours. Call (844) 797-9439 and we’ll explain what your project needs and what the written price includes.
The Bottom Line
A remodeled home runs two maintenance clocks at once. The new work needs re-sealing at 12 months, re-caulking yearly, and a 30-day walkthrough to catch small adjustments. The original house needs its own roof, HVAC and plumbing care no matter what you remodeled. In Winchester, desert heat cycling speeds up how fast sealants wear, so treat the yearly re-seal as a fixture, not a suggestion. The tasks that keep your warranty valid are the same ones that keep the work looking new. Start with the general contractor in Winchester page if you’re planning a project, and call (844) 797-9439 for a free estimate. Keep the checklist taped inside a cabinet door and the surprises stay small.
Planning a remodel rather than maintaining one? Start at the Penhallow Remodeling Winchester home to see how every project is priced, guaranteed and finished. You can also read up on bathroom remodeling and kitchen remodeling before you call.
Written by the team at Penhallow Remodeling Winchester.