
Last updated November 18, 2026








Free written scope consultation - allowances, timeline, and change-order rules on paper before a single trade is scheduled
Bathroom Remodeling Troubleshooting: Common Problems and How to Fix Them
A grout crack that appears six months after a bathroom remodel isn’t automatically the contractor’s fault. A failed waterproofing membrane behind the tile almost always is. The difference matters more than most homeowners realize, because it decides who pays for the repair and whether a warranty claim holds up. In our experience across Winchester, the problems that show up after a bathroom remodel fall into four categories: water intrusion, tile failure, fixture leaks, and ventilation failure. Each one has a distinct cause that points to either a material defect, an installation error, or plain homeowner maintenance. This guide helps you diagnose which one you’re looking at before you call anyone, so the conversation starts from facts instead of frustration.
Quick Answer
Most post-remodel bathroom problems trace to four causes: water getting past a failed waterproofing membrane, tile bonded to a shifting substrate, a fixture connection that wasn’t sealed or tightened, or an exhaust fan too weak to clear moisture. Diagnose by location (wall, floor, ceiling, drain) and timing (immediately after the job versus months later). Grout cracks and caulk separation are often maintenance; bubbling drywall, efflorescence, or mold behind a wall almost always signal an installation problem the contractor should fix under warranty.
Styles & brands we work with
- Kitchen remodeling
- Bathroom remodeling
- Home additions & ADU
- Roofing
- Windows & doors
- Driveway & pavers
- Fence
Table of Contents
- Symptom-to-Cause Diagnostic Chart
- Efflorescence: White Powder on Grout and Tile
- Grout Cracking: Substrate Problem or Cleaning Problem?
- Caulk Separation at the Tub and Shower
- Mold Behind the Wall and the Waterproofing Membrane
- Ventilation Failure: Condensation and the Exhaust Fan
- Emergency Steps for an Active Leak From New Plumbing
- The Nevada Complaint Process and Your Warranty Leverage
Symptom-to-Cause Diagnostic Chart
Before you call anyone, match what you’re seeing to where it’s happening. The pattern usually tells you whether you’re dealing with a defect, an installation error, or maintenance. Here’s the chart we walk homeowners through when they describe a problem over the phone.
- White powder on grout (efflorescence): moisture moving through the substrate and depositing salts on the surface. Points to water intrusion behind the tile, not a cleaning issue.
- Grout cracking in straight lines along tile edges: movement in the substrate or a missing movement joint. Installation concern.
- Grout cracking in isolated, random spots: often a cleaning product or heavy scrubbing issue. Homeowner maintenance.
- Caulk pulling away at the tub or shower base: normal shrinkage or a joint that wasn’t flexible. Usually maintenance, occasionally installation.
- Slow drain after a fixture swap: debris in the trap or a partially closed valve. Installation error.
- Condensation on walls and ceiling, musty smell: exhaust fan undersized or ducted wrong. Ventilation failure.
- Bubbling paint or soft drywall near the shower: active water intrusion behind the wall. Installation error, stop using the shower.
The chart sharpens the picture, but it doesn’t replace a look behind the surface. In Winchester, we regularly see efflorescence in bathrooms where the shower was tiled over a moisture-sensitive substrate instead of a cement board substrate (the moisture-resistant layer that belongs behind tile). That’s a construction problem, and it rarely resolves on its own.
Efflorescence: White Powder on Grout and Tile
Efflorescence is the chalky white powder that appears on grout lines and tile faces, and it’s one of the clearest signals that water is moving where it shouldn’t. The salts in cement and mortar dissolve in moisture and get pushed to the surface as the water evaporates. Wiping it away doesn’t fix anything; the powder comes back until the moisture source is addressed.
In a recently remodeled bathroom, efflorescence usually means one of three things:
- The waterproofing membrane wasn’t applied correctly, letting moisture reach the substrate.
- Grout was mixed too wet or sealed too soon, trapping water that later migrated upward.
- The shower pan holds water because the slope is wrong, so moisture sits and works its way out through the grout.
Test it before you panic. Dry the surface completely, then see if the powder returns over a few days without anyone using the shower. If it does, moisture is still in the assembly. If it doesn’t, the efflorescence may have been a one-time release from freshly installed materials. Either way, photograph it with a date. Documentation matters if the fix turns into a warranty conversation. We’ve walked through this exact scenario with homeowners in the Winchester area enough times to know that early photos save weeks of back-and-forth later.
Grout Cracking: Substrate Problem or Cleaning Problem?
Grout cracks are the most common complaint after a remodel, and they’re also the most often blamed on the wrong party. The location of the crack tells the story. Hairline cracks that run in straight lines along the edges of the tile, or across the joints between wall and floor, usually indicate movement in the substrate or a missing movement joint. That’s on the installer. Cracks in the middle of a tile field, especially near the shower or on the floor, can be a sign the substrate flexed or the tile wasn’t fully bonded.
On the other hand, grout that has eroded only in high-traffic spots, or lost its color and texture where you scrub hardest, points to harsh cleaning. Acid-based cleaners and stiff brushes wear away cementitious grout over time, and that’s maintenance, not a defect. Check the label on anything you’ve used in the bathroom. Vinegar, bleach, and “heavy-duty” bathroom sprays all shorten grout life.
One Winchester-specific detail: homes on the valley’s expansive clay soils often see minor slab and framing movement through seasonal moisture changes. That doesn’t excuse every crack, but it does mean grout that cracks along a control joint is sometimes the soil, not the crew. A contractor who pulled permits and built to code will know which joints should have flexed and which shouldn’t have been rigid.
Caulk Separation at the Tub and Shower
Caulk pulling away from a tub, shower base, or backsplash is usually the least serious problem on this list. Caulk has to be flexible because the fixtures and walls move slightly with temperature and weight. Over 12 to 24 months, caulk shrinks, dries, and separates. Recaulking is standard homeowner maintenance, and it’s a job you can usually manage yourself with a fresh tube of 100% silicone.
It becomes an installation concern when:
- The caulk separated within the first few months and was applied over a wet or dirty joint.
- There’s no gap allowance, so the two surfaces pushed against each other immediately.
- The joint is behind the tile and the grout is failing at the same location, pointing to movement below.
When you recaulk, remove all the old bead, clean with denatured alcohol, and let the joint dry fully before applying new silicone. If the separation keeps coming back at the same spot, that’s a signal to look deeper.
Mold Behind the Wall and the Waterproofing Membrane
Mold behind a bathroom wall after a remodel tells you something specific: moisture reached a cavity that should have stayed dry. In a properly built shower, the waterproofing membrane is the line of defense. It goes behind the tile and behind the cement board, and when it’s installed correctly, water never touches the framing. When you find mold on the studs or insulation, either the membrane wasn’t installed, was punctured during tiling, or was the wrong product for a wet area.
Before you let anyone cut into the wall, gather documentation. This protects you and speeds up the repair:
- Photograph the visible mold, the date it appeared, and the area around it.
- Locate your remodel contract, the scope of work, and any written guarantee.
- Note which membrane product was specified, if it’s listed in the contract.
- Stop using the shower to limit further moisture.
- Get the contractor out to inspect before any third party opens the wall, since premature demolition can cloud who’s responsible.
This is exactly where a written guarantee changes the conversation. Our 365-Day Done Right Promise covers every project in writing, so if the waterproofing failed, we come back and make it right at no charge. The documentation does the arguing so you don’t have to.
Ventilation Failure: Condensation and the Exhaust Fan
If the mirrors fog for ten minutes after a shower and the walls stay damp an hour later, the exhaust fan is the problem. Ventilation failure is the most overlooked contributor to post-remodel bathroom damage, and it’s usually one of three issues: an undersized fan, a fan ducted into the attic instead of outside, or a fan that’s simply never run long enough.
Quick checks you can do without tools:
- Hold a tissue to the fan grille while it runs. If it barely holds, airflow is low.
- Run the fan for 20 minutes after a shower and see whether condensation on the mirror drops.
- Listen for a rattle or hum that suggests a blocked or kinked duct.
- Look up in the attic (safely, from the access hatch) to confirm the duct terminates outside the roof or wall, not into the attic air.
The fix for an undersized fan is often a swap to a higher-CFM unit, sized to the bathroom’s cubic footage. Ceiling work in a bathroom is a job to schedule rather than improvise. If the fan was installed during your remodel and never worked well, that’s a scoping conversation worth having with the contractor. In Winchester, our dry summers don’t hide a bad fan – the monsoon months expose it fast.
Emergency Steps for an Active Leak From New Plumbing
An active leak traced to new plumbing needs fast attention. Your goal in the first hour is to limit damage without voiding your warranty claim. Here’s the order we recommend:
- Shut off the water at the fixture’s supply valve (under the sink or behind the toilet) or the main shutoff for the house.
- Kill power to any ceiling light or outlet near the leak at the breaker panel.
- Contain the water with towels and buckets, and pull back rugs or mats.
- Photograph and video everything: the leak, the water damage, the time, and the area around it.
- Call the contractor before calling a plumber, so the warranty stays intact and the original installer sees the failure firsthand.
- Do not open the wall yourself. If the leak is inside the wall, shut off the water and wait for the contractor.
Every minute counts with water near framing, but tearing into drywall on your own can confuse the record of what happened. Let the contractor document it. A live person answers our phone around the clock, so you’re not leaving a voicemail into a void while water spreads.
The Nevada Complaint Process and Your Warranty Leverage
Nevada regulates residential contractors through the Nevada State Contractors Board, and the complaint process is real and usable. Filing a complaint can trigger review, mediation, and in some cases a disciplinary response. What it can’t do is force a fast fix or award you a specific dollar amount on the spot. It’s a lever, not a repair crew.
Here’s how a written guarantee changes that lever. When the contractor put the price and the warranty in writing before work started, your position is documented from day one. That means:
- You can point to a specific written promise, not just a verbal handshake.
- The contractor’s incentive to resolve quickly is higher, because the record is clear.
- The board review is easier to navigate because you have a paper trail.
We underwrite that leverage up front with a written price before any work starts and a written guarantee on every repair, plus a free return visit if a repair fails. No service call, no re-inspection fee. If a complaint ever becomes necessary, you’ll have the documentation the board wants to see. If you’re early in the process of choosing a contractor for bathroom work in the Winchester area, start with our Bathroom Remodeling in Winchester page to see how we set up a project.
Common Mistakes to Avoid
- Tearing into the wall before the contractor sees it. Opening the cavity early clouds who’s responsible and can void parts of a warranty. Photograph, then call.
- Treating grout cracks with acid cleaners. Acid wears cementitious grout and makes the problem worse. Use pH-neutral cleaners and a soft brush.
- Ignoring fan ducting during a remodel. A fan that vents into the attic is a ventilation failure waiting to brew. Confirm the duct exits the roof or wall before you sign off on the job.
- Relying on a verbal estimate when problems appear. Without a written scope and guarantee, you’re negotiating from memory. Ask for both before work starts.
- Mistaking efflorescence for a cleaning problem. White powder that returns after you wipe it means active moisture, not dirt.
- Skipping permits. In Winchester, permits and inspections are how you know the plumbing and electrical behind the tile met code. Unpermitted work can sink your warranty claim.
- Letting a small leak run overnight. Water near framing invites mold within 24 to 48 hours. Shut it off and call.
If you’re planning a project rather than troubleshooting one, our General Contractor in Winchester page explains how we sequence permits, inspections, and trades so fewer of these problems happen in the first place. For the broader view of what we do, start at the Penhallow Remodeling Winchester home.
See the difference
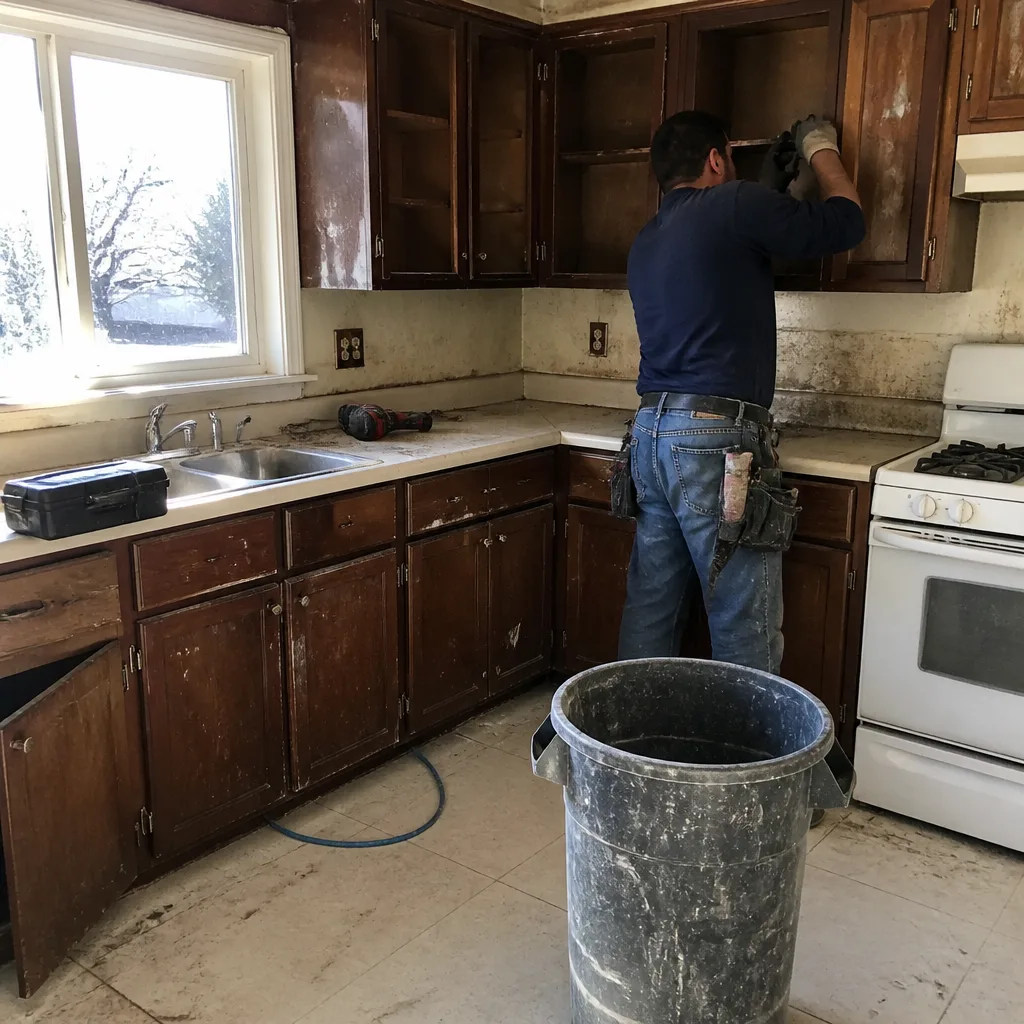 Before
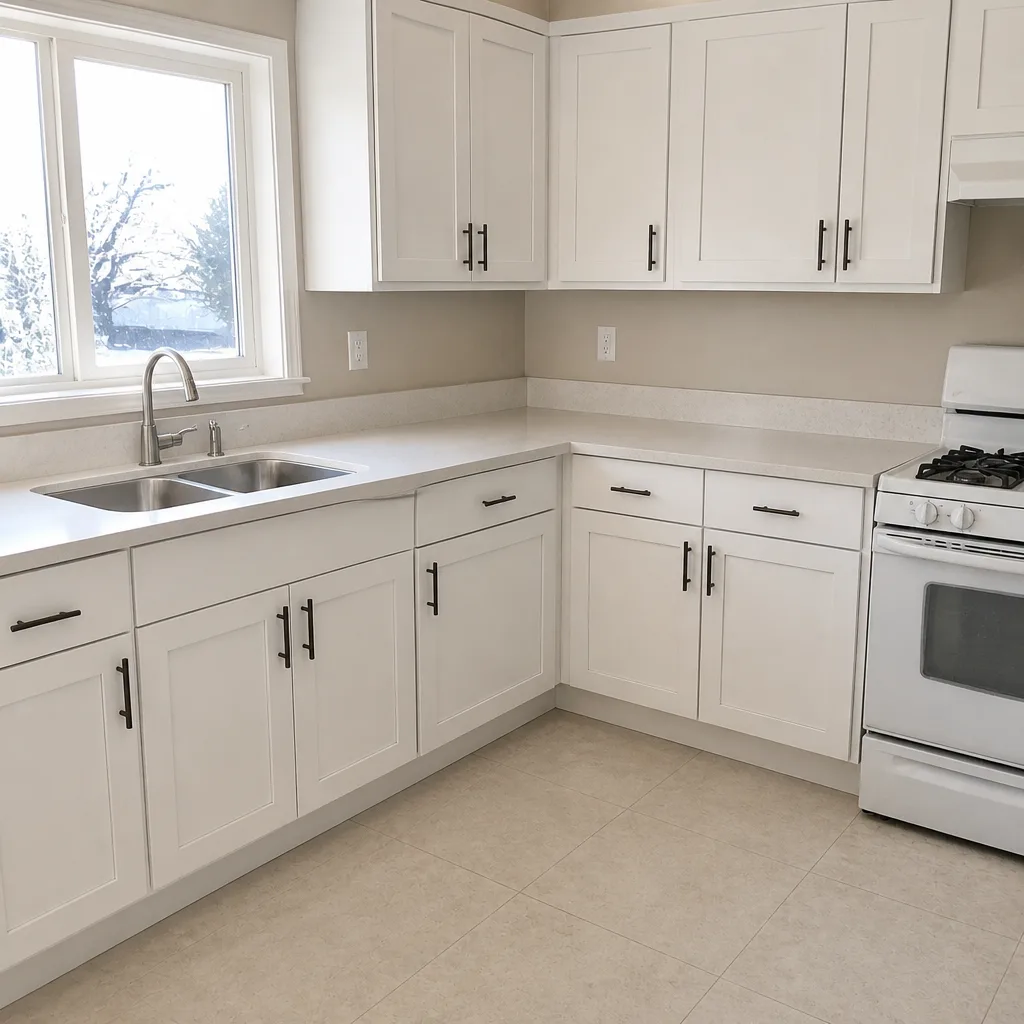 After
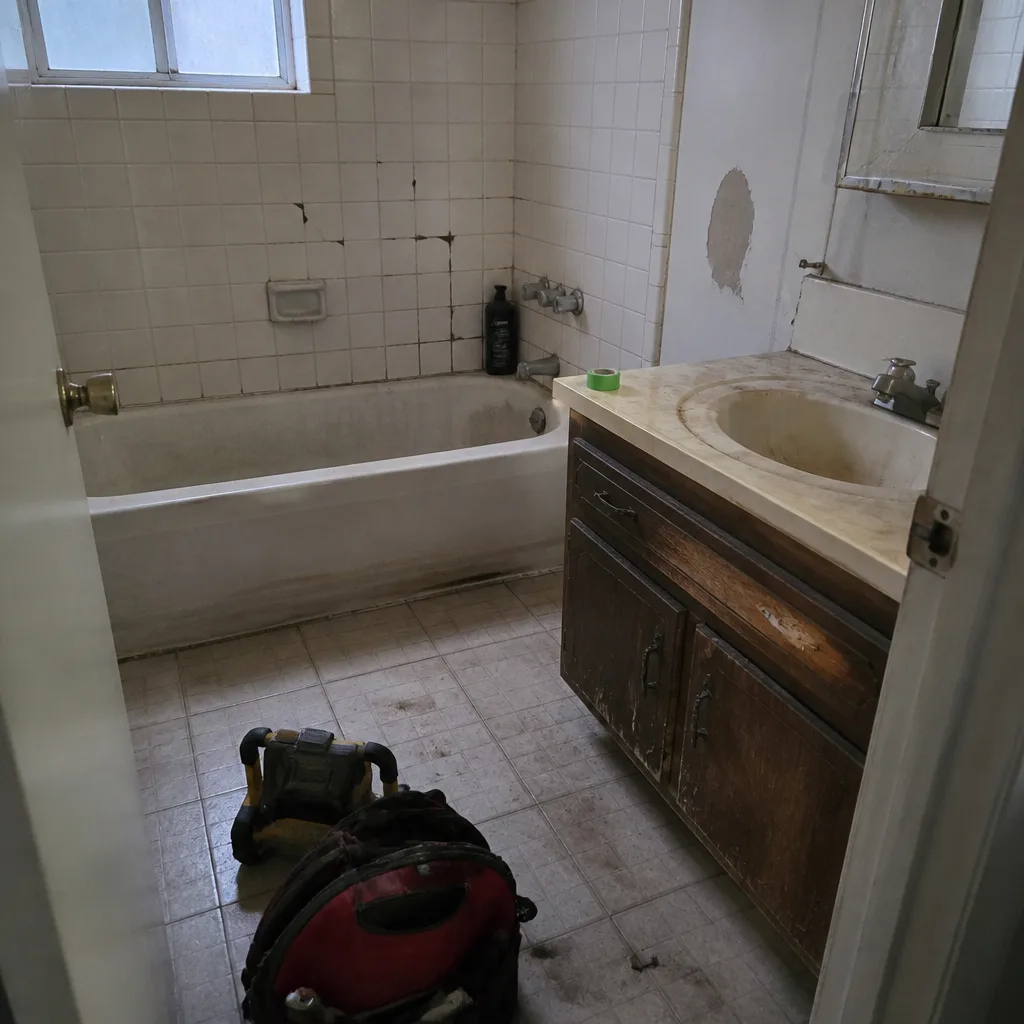 Before
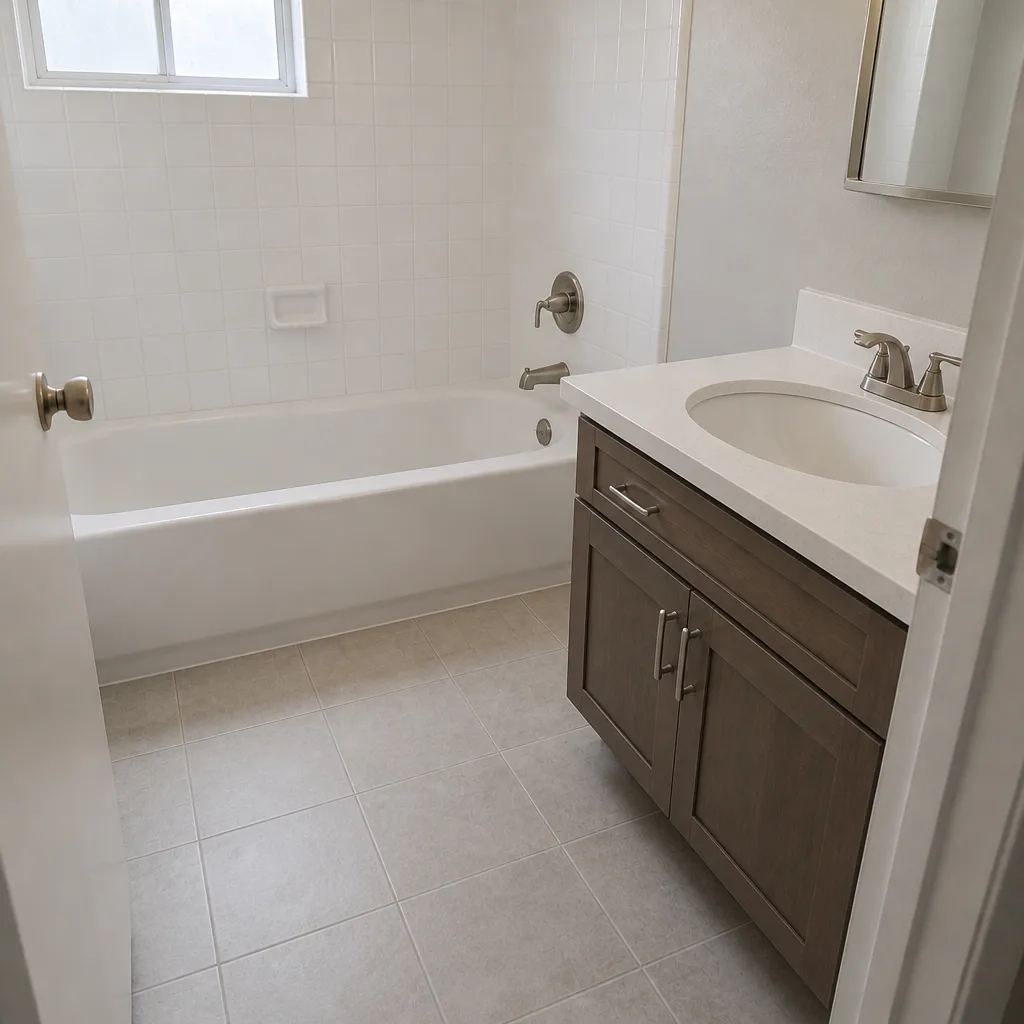 After
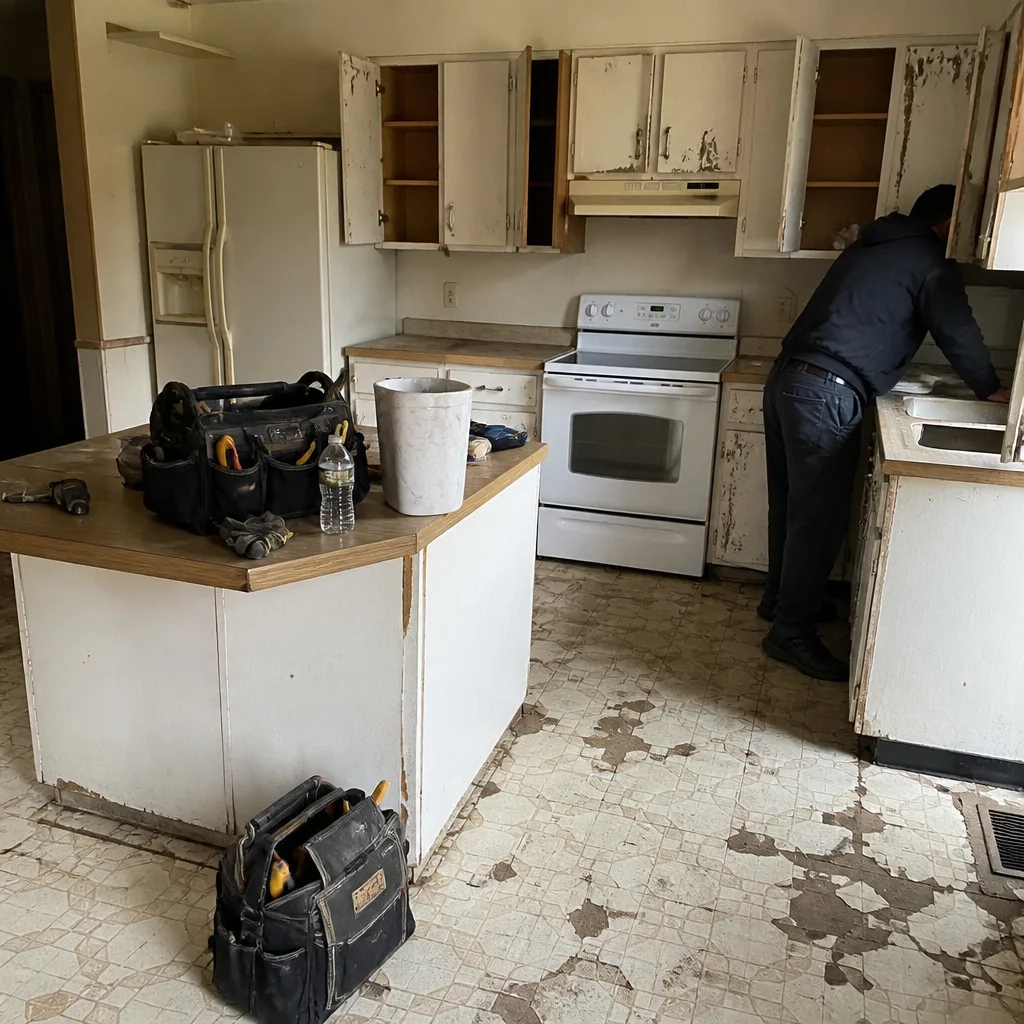 Before
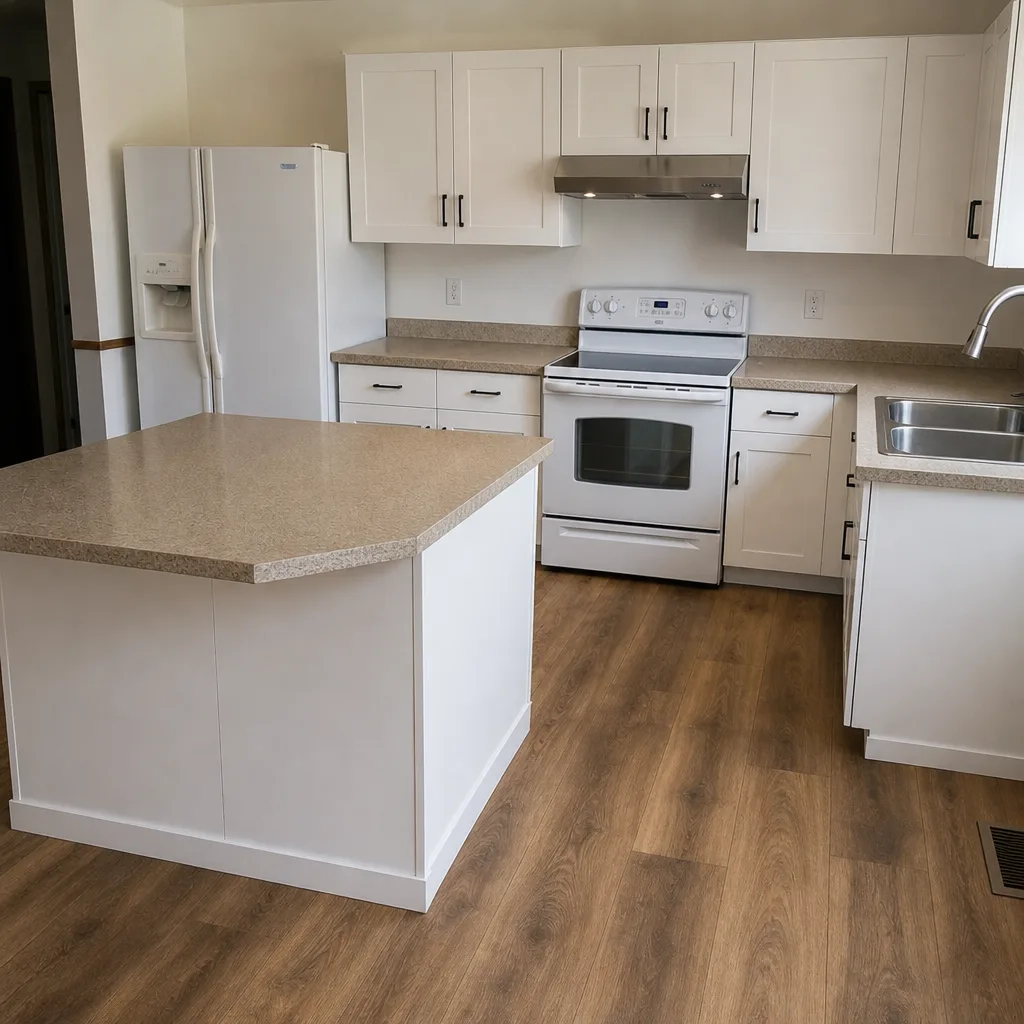 After
When to Call a Professional
Call a professional when you see efflorescence that returns, mold behind a wall, an active leak, condensation that won’t clear, or grout separating in straight lines along tile edges. Those are not maintenance items. Call when you’re not sure whether the issue is a defect or a cleaning habit and you need eyes on the actual assembly. Call when the problem threatens your warranty claim, and you want documentation from the original installer before a third party gets involved. Penhallow Remodeling Winchester offers free estimates in Winchester, with a written price before any repair work starts. Call (844) 797-9439 to schedule yours.
Frequently Asked Questions
It depends on the cause. Grout cracking in straight lines along tile edges or at movement joints usually points to substrate movement or a missing joint, which is a workmanship issue a warranty should cover. Cracks in the middle of high-traffic areas after harsh cleaning are usually maintenance. Call (844) 797-9439 for a free estimate so a pro can tell you which one you’re dealing with.
It’s efflorescence, and it signals moisture moving through the substrate and carrying salts to the surface. In Winchester that’s often tied to shower assemblies installed over a moisture-sensitive substrate rather than cement board. Wipe it once to confirm; if it returns, the moisture source needs to be addressed. Call (844) 797-9439 for an exact quote on the diagnosis.
Yes, the Nevada State Contractors Board accepts complaints against licensed contractors and can review, mediate, and in serious cases discipline. It cannot force an immediate repair or award you a dollar amount on the spot. A written guarantee gives the board a clear record to review. Call (844) 797-9439 to talk through your options first.
Most damp bathrooms after a remodel point to an undersized exhaust fan or a fan ducted into the attic instead of outside. Hold a tissue to the grille to test airflow, then check whether the duct terminates outside. If the fan never worked well, that’s a scoping conversation worth having. Call (844) 797-9439 for a free estimate on a proper fix.
Call the contractor who installed it first so the warranty stays intact and the original installer sees the failure firsthand. Shut off the water supply and contain the damage while you wait. If the leak is inside the wall and spreading, shut off the main and document everything. Call (844) 797-9439 – a live person answers around the clock.
A correctly installed tile job with a proper waterproofing membrane should hold its grout for many years with neutral-pH cleaning and routine recaulking at the fixtures. If cracks or separation appear within the first year, document the location and pattern, since that usually separates installation issues from maintenance. Call (844) 797-9439 for a written quote on repairs.
The Bottom Line
Post-remodel bathroom problems usually trace to water intrusion, tile failure, fixture leaks, or ventilation failure, and each one points to a specific cause. Efflorescence that returns is moisture, not dirt. Grout cracks along tile edges are substrate issues, not cleaning habits. Mold behind a wall means a waterproofing membrane failed. Condensation means the exhaust fan is undersized or mis-ducted. Diagnose by location and timing before you call, then document everything. When you’re ready for a written price and a written guarantee on the repair, we’re here in Winchester to make it right – and to back it with the 365-Day Done Right Promise. For cabinetry or countertop upgrades alongside the fix, see our Kitchen Remodeling in Winchester page for the materials we install.
Call (844) 797-9439 for a free estimate. A live person answers around the clock, we’ll give you a written price before any work starts, and our background-checked, uniformed technicians show up in the window we promised.
Written by the team at Penhallow Remodeling Winchester.