
Last updated November 18, 2026








Free written scope consultation - allowances, timeline, and change-order rules on paper before a single trade is scheduled
General Contractor Maintenance Schedule: What to Do and When
Most remodel problems we get called back for weren’t caused by bad work. They were caused by a joint that moved a millimeter in month four and nobody looked. Grout cracks, caulk gaps, and settling seams aren’t bad luck. They’re predictable. In our experience, the vast majority surface in a narrow window between 30 and 180 days after a remodel wraps. If you catch them during that window, they’re usually a quick, free fix under your contractor’s guarantee. If you miss them, they quietly turn into water damage, trim that pulls away from the wall, and a bill. This guide gives Winchester homeowners a plain-language maintenance calendar for the first year after a renovation, organized by trade, with the local temperature swings that drive most of it.
Quick Answer
After a remodel, walk the job at 30, 90, 180, and 365 days. Check caulk joints, grout lines, cabinet hardware, and trim for movement at each visit; test the GFCI outlets in the first month; and log anything that looks wrong in writing with photos before the warranty period closes. In Winchester, the high-desert swing between cold nights and warm afternoons puts extra stress on every caulk seam and wood joint, so those inspections matter more here than in a mild climate.
Styles & brands we work with
- Kitchen remodeling
- Bathroom remodeling
- Home additions & ADU
- Roofing
- Windows & doors
- Driveway & pavers
- Fence
Table of Contents
- The First-Year Maintenance Timeline: Month by Month
- What Winchester’s Temperature Swings Do to Your New Work
- The Post-Remodel Checklist by Trade
- How to Log a Warranty Claim So It Can’t Be Dismissed
- The Tasks That Void a Manufacturer Warranty If You Do Them Wrong
- The 11-Month Walkthrough: Your Final Guarantee Protocol
- Common Mistakes to Avoid
- When to Call a Professional
The First-Year Maintenance Timeline: Month by Month
The first year after a renovation is the year everything finds its resting place. Wood dries and shrinks a hair. Grout cures and can hairline-crack. Cabinets settle onto their hinges. None of that is a defect. It’s normal movement, and the point of a schedule is catching it while it’s still cheap to address.
- Week 1 to Week 4: Test every outlet and switch. Confirm the GFCI outlets in the kitchen and bathrooms trip and reset. Run water in every fixture and watch the supply lines and drain connections for weeping. Note anything that doesn’t feel right while the job is fresh in your mind.
- Day 30: Walk the caulk lines where countertops meet backsplash, where tub or shower meets wall, and around every window. Press a fingernail into the caulk: if it peels away cleanly from either surface, it’s already failing.
- Day 90: Check cabinet doors for sag or rub, drawer slides for stiffness, and grout in the shower for hairline cracks. Look at wood trim at the baseboards for any gap opening up.
- Day 180: Full inspection of the tile work, especially any floor tile over a wood subfloor. Check that the toilet doesn’t rock. Look under sinks for moisture.
- Day 365: The final warranty walkthrough, covered in detail below. Do it before the guarantee period closes, not after.
That timeline works for almost any remodel, whether it was a full kitchen or a powder room. For a deeper picture of what a proper build even looks like in the first place, see our page on General Contractor in Winchester.
What Winchester’s Temperature Swings Do to Your New Work
Winchester sits in a high desert, and that matters for maintenance. Days here can run warm while nights drop sharply, and through much of the year that swing is dramatic. Every material in your home expands and contracts at a slightly different rate when the temperature moves. Wood moves more than tile. Sealant is the flexible layer between the two, and it takes the stress.
What that looks like in practice:
- Caulk joints: The caulk line where a countertop meets a backsplash takes the most movement of anything in a kitchen. It typically cracks or pulls loose inside the first year. A failed bead lets moisture behind the counter, and that’s where small problems get expensive.
- Grout lines: Grout is rigid, and rigid lines don’t love movement. Hairline cracks in floor grout near doorways and in front of cabinets are common in Winchester during the first temperature cycle after a remodel.
- Wood trim: Baseboard and casing trim is nailed, not glued, and wood shrinks as it dries in heated indoor air. Small gaps at inside corners and where trim meets the floor are normal. Large gaps aren’t.
- Cabinet frames: Cabinet boxes and doors move with the humidity indoors. Hardware can loosen as the wood settles. A snug door in July might rub in January.
If you just finished a kitchen and want the specific care routine for those materials, our Kitchen Remodeling in Winchester page covers the finishes we install and how to keep them.
The Post-Remodel Checklist by Trade
Walking a home by trade is the fastest way to catch what matters. Here’s what to look at, grouped the way a contractor thinks about it.
Tile
Check grout lines for hairline cracks, especially at the perimeter of a room where the floor meets the wall. Look at the shower floor and the joints around the drain. Press on a few floor tiles to feel for hollow or loose ones. Grout that crumbles rather than cracks is worth a call.
Drywall and paint
Hairline cracks over door corners and where walls meet the ceiling are common as the structure settles. A single hairline crack under an inch is usually cosmetic. A crack that runs long, widens, or appears above a window frame is worth a professional look.
Electrical
In the first month, trip and reset every GFCI in the kitchen and bathrooms. Test that every outlet in the new work has power and that switches control what they should. Listen for any buzzing at a switch or dimmer. Anything warm to the touch gets a call right away, not a wait-and-see.
Plumbing
Look under every sink for moisture on the cabinet floor. Watch supply lines at the valve connections. Check that the toilet is firm against the floor, not rocking. Feel around the base of the shower and tub for soft spots. A slow drip that’s invisible for six months can rot a cabinet floor.
Cabinetry
Open and close every door and drawer a dozen times. Tighten any loose hinge or handle screw with a screwdriver. Look for doors that rub the frame or fail to close flush. Check that toe kicks and fillers are still snug to the wall.
How to Log a Warranty Claim So It Can’t Be Dismissed
A warranty claim lives or dies on documentation. The single most common reason a claim gets pushed back is that the homeowner reported it verbally, weeks after they noticed, with no record of when the problem started. Fix that with a simple system.
- Write it down the day you see it. Date, location in the home, and what you observed. One sentence each.
- Take a photo with something for scale. A coin next to a grout crack or a ruler next to a gap tells the story instantly.
- Note anything you did just before it appeared. Did you clean the shower with a particular product? Move a heavy item? That context helps a contractor diagnose, not just defend.
- Report it in writing and keep the copy. Email or text works. Don’t rely on a phone call alone.
- Don’t try to fix it first. A homeowner repair can muddy the picture of what failed. Report it and let the contractor see it before you touch it.
The Kingswell Way standard that Penhallow operates under requires a written guarantee on every project, so the terms of your claim are already spelled out. Read them once while you have them handy. Our Bathroom Remodeling in Winchester page also notes how we hand off warranty terms at completion for wet-area work, which is where most first-year claims come from.
The Tasks That Void a Manufacturer Warranty If You Do Them Wrong
The contractor guarantee and the manufacturer warranty are two separate layers of protection, and the second one has rules. A brand like Kohler or Moen will back its finish and function, but only if the fixture is installed and cared for as directed. Some of the most common homeowner habits quietly cancel that coverage.
- Abrasive cleaners on fixtures: Scrubbing a faucet or shower trim with an abrasive pad can dull and pit the finish. That’s a finish failure the maker can reasonably say was your doing.
- Harsh chemicals in a toilet tank: Drop-in bleach tablets sit in the tank and can eat the seals and gaskets. Many tank warranties exclude chemical damage.
- Improperly sealing a stone counter: Cambria quartz is non-porous and needs no sealing. Applying a sealer meant for granite to a quartz surface can leave a film. Know which stone you have before you treat it.
- Caulking over a wet joint: Sealing a gap that still has moisture behind it traps the water. The re-caulk fails fast, and the underlying issue goes unaddressed.
- Pressure-washing siding: James Hardie fiber cement siding is durable, but blasting it at high pressure can force water behind the panels and void coverage on that damage. A garden hose and a soft brush is the right approach.
When you’re not sure, the safe move is to ask before you act. A quick call to the manufacturer’s support line, or to us, saves you a fight later.
The 11-Month Walkthrough: Your Final Guarantee Protocol
If your guarantee runs a full year, the eleventh month is the most valuable hour you’ll spend on your home all year. It’s your last clear window to surface anything that’s been quietly bothering you while it’s still a covered fix.
- Re-read the guarantee. Know exactly what’s covered and for how long before you start walking. No surprises.
- Walk with the same checklist you used on day 30. Go room by room, fixture by fixture. Bring the photos you took earlier so you can compare.
- Test everything that moves or carries water. Every door, drawer, faucet, drain, outlet, and GFCI.
- Look in the places you don’t normally look. Under sinks, behind the fridge, at the base of the shower, along the top of baseboards, and in the corners of the ceiling.
- List everything in writing, even the small stuff. A rubbing drawer or a hairline crack you’ve been ignoring is exactly what a final walkthrough is for. Report it before the period closes.
- Schedule the walkthrough with the contractor. A good company will do a final inspection with you, not just take your list over the phone.
The Penhallow 365-Day Done Right Promise means if something we completed fails inside that year, we come back and fix it at no charge, and it’s in writing. If a repair ever fails, the return visit is free. Running this walkthrough yourself makes sure you use that promise instead of letting it expire. For homeowners starting the process from scratch, our Penhallow Remodeling Winchester home page lays out how the written price and written guarantee work together.
Common Mistakes to Avoid
- Waiting for the problem to “settle down.” A hairline grout crack might not grow, but a caulk gap almost always does. Waiting six months turns a ten-minute fix into a water-damage repair.
- Reporting issues verbally and forgetting them. A phone call with no written follow-up is easy to lose track of. Put it in writing so you have a dated record when the guarantee matters.
- Fixing it yourself before calling. Your repair can hide the cause and give the contractor a fair reason to say the problem is now yours. Report first, fix second.
- Using the wrong cleaner on the wrong surface. Abrasive pads on fixtures and bleach tablets in toilet tanks are the two most common warranty-killers, and both are avoidable.
- Skipping the 11-month walkthrough. It’s easy to forget a guarantee deadline. Put a reminder on your calendar the day the project finishes for 11 months out.
- Not accounting for Winchester’s climate. Treat every seal and joint as something that needs a check each season, not a one-time installation. The temperature swing here will test it.
- Ignoring a door that rubs or a drawer that sticks. Small hardware drift is normal, but it’s also the earliest sign of a hinge or frame issue worth catching while it’s covered.
When to Call a Professional
Plenty of first-year maintenance is homeowner-level: tightening a hinge screw, re-caulking a joint, testing an outlet. But some things belong to a professional, and guessing at them tends to cost more. Call when you see water where it shouldn’t be, when a crack in drywall or tile widens or keeps returning, when an outlet feels warm or a breaker trips repeatedly, when a floor feels soft or a tile sounds hollow and loose, or when tile or trim has moved enough that you can see a gap. Electrical, gas, and structural issues are never a wait-and-see. Penhallow Remodeling Winchester offers free estimates in Winchester for any of these; call (844) 797-9439 and a real person answers, day or night.
See the difference
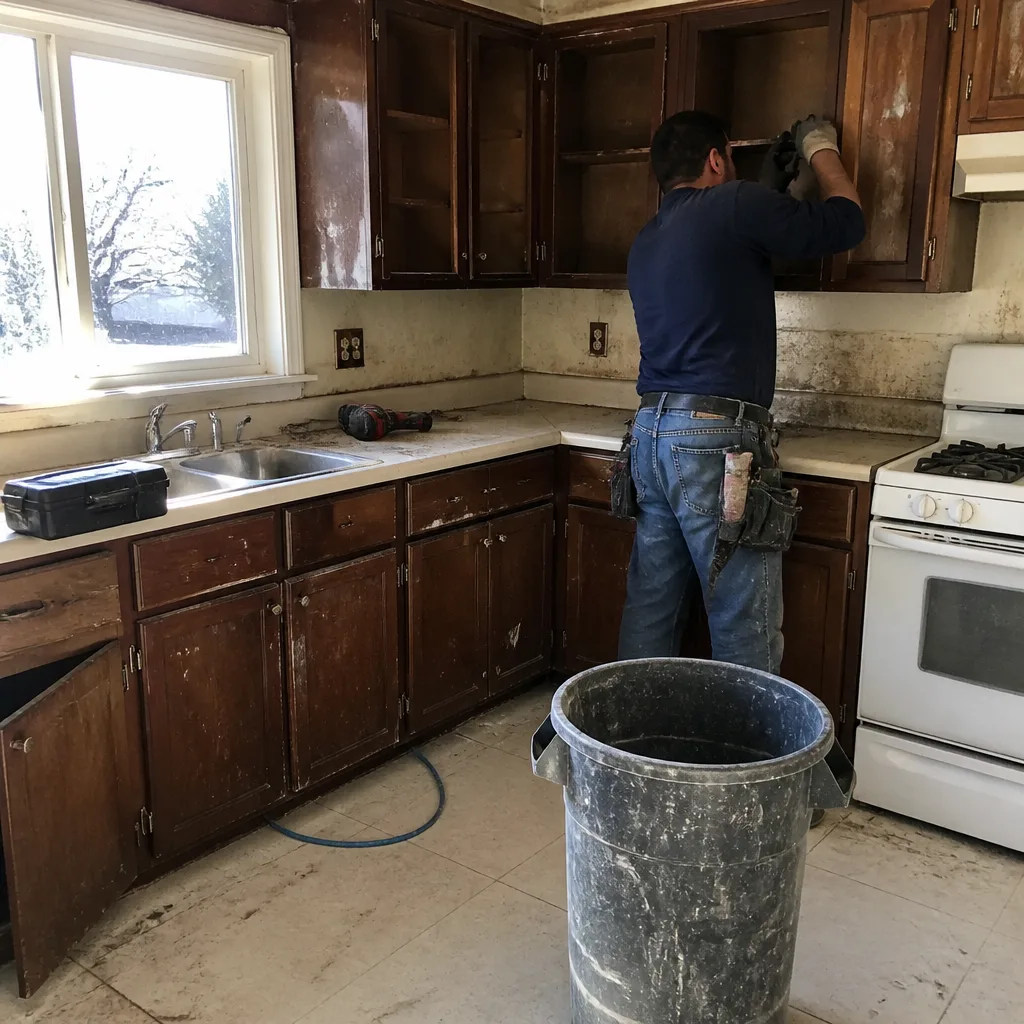 Before
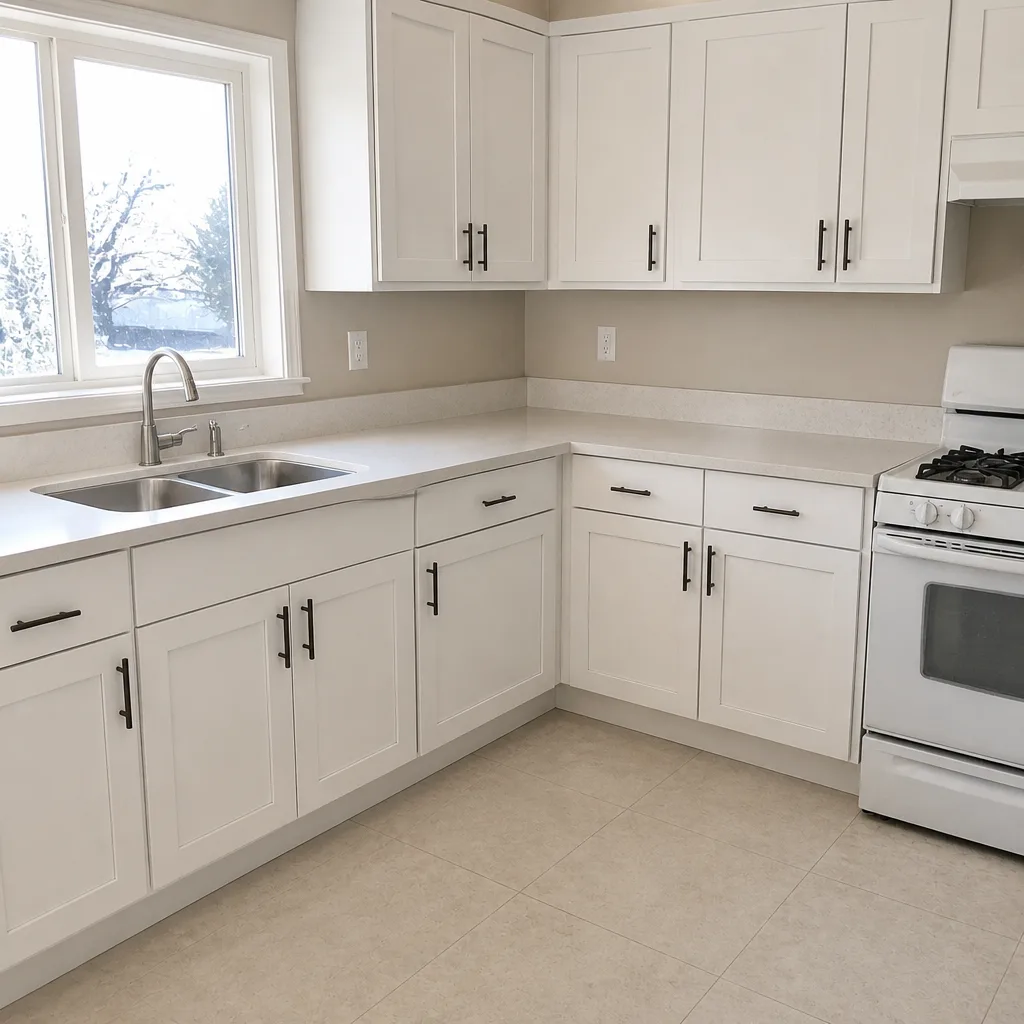 After
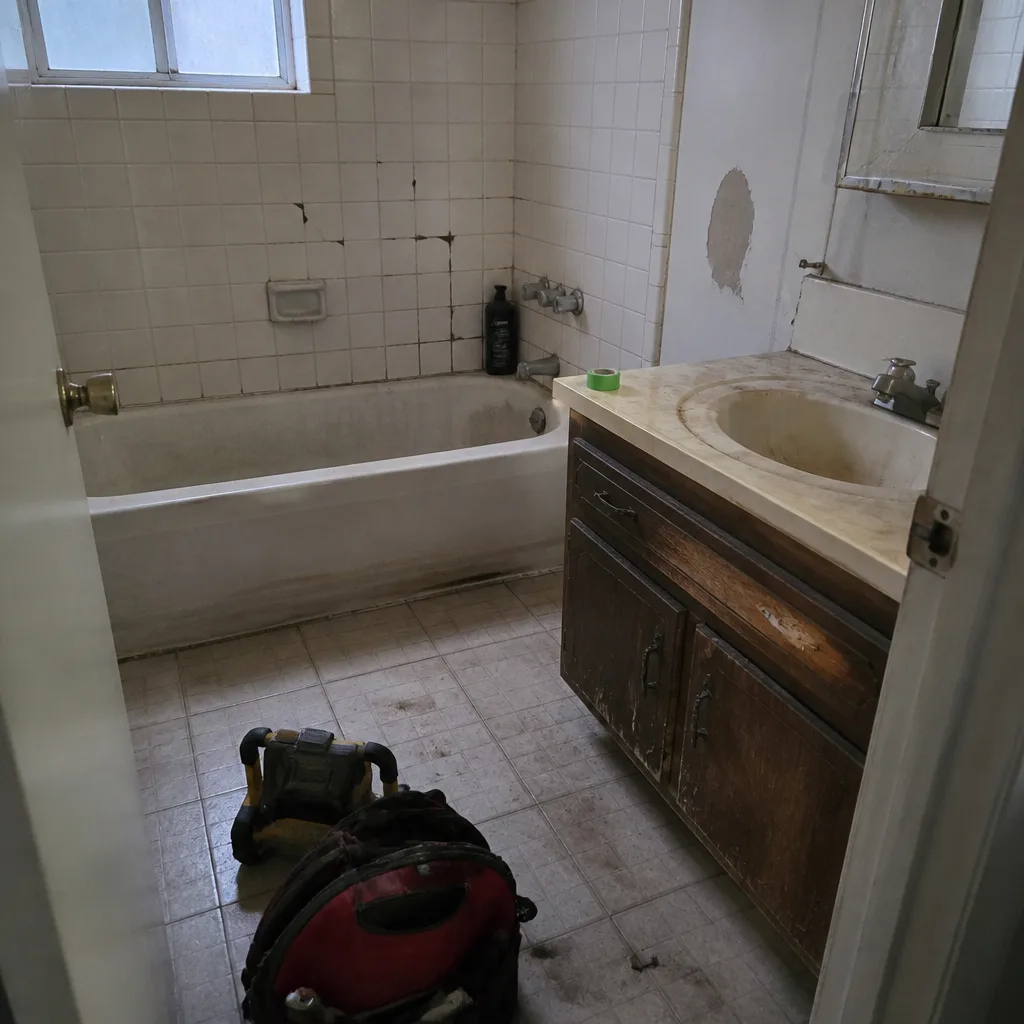 Before
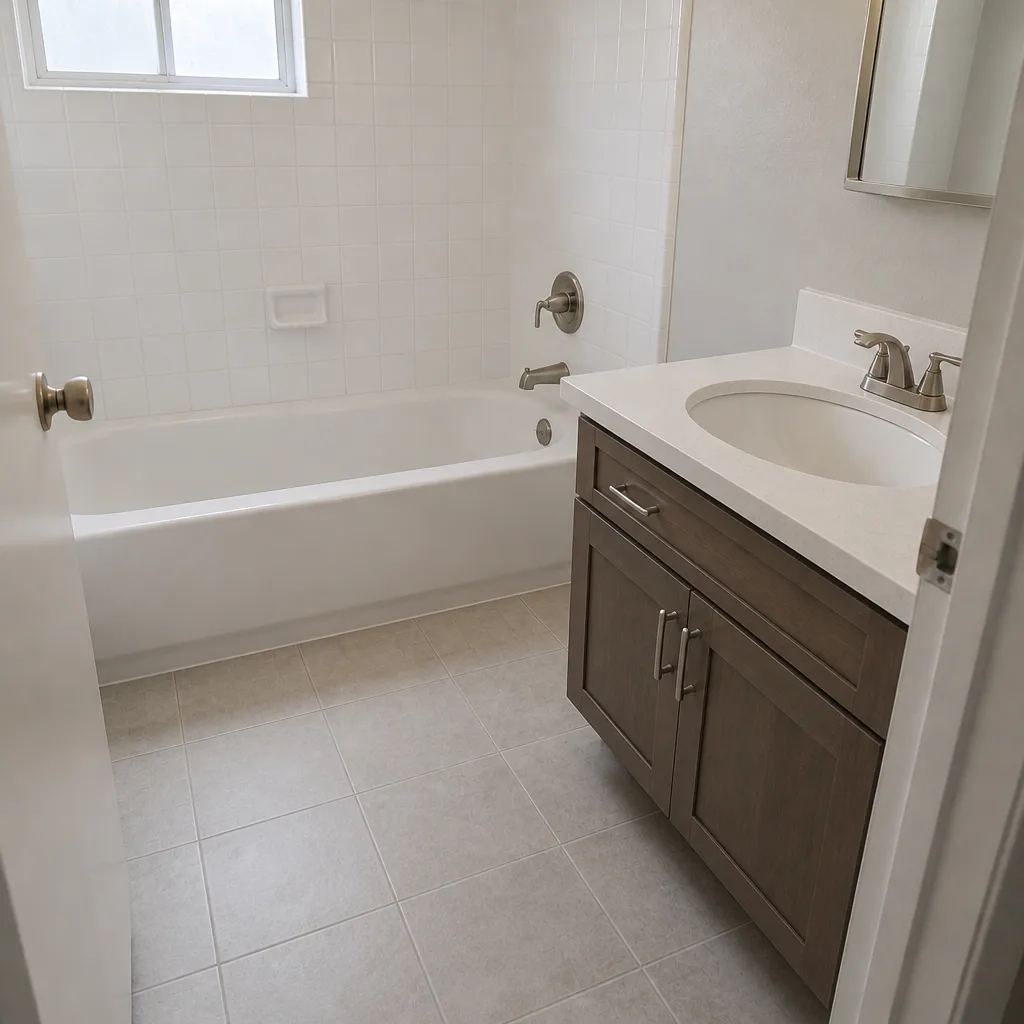 After
 Before
 After
Frequently Asked Questions

Do a light walk at 30 days, checking caulk joints, outlets, and cabinet hardware, then a fuller inspection at 90 and 180 days. Most settling shows up in that first six months, so early checks catch the fixable things while they’re still covered.
Yes, small hairline cracks in grout are common in the first year as the floor and grout move with temperature and humidity, and they’re typically cosmetic. A crack that crumbles, widens, or returns after repair is worth a call. Call (844) 797-9439 for an exact assessment; estimates are free.
It makes the seasonal checks more important. The high-desert swing between cool nights and warm days works every caulk joint, grout line, and wood trim in your home, so inspecting those a few times a year is the best habit you can build here.
It depends on the guarantee terms, but most well-written guarantees cover workmanship failures in the first year. Report it in writing with a photo, and don’t re-caulk it yourself first, since that can change how the failure is judged.
Avoid both on most finishes. Abrasive pads can dull and pit metal finishes, and bleach tablets in a toilet tank can damage seals and gaskets, both of which are common reasons a manufacturer declines a warranty claim.
Run a full walkthrough yourself before the period closes, list every issue in writing, and schedule a final inspection with the contractor. It’s your last clear window to get anything covered fixed without a charge. Call (844) 797-9439 to set one up.
The Bottom Line
A remodel isn’t done when the crew leaves. It’s done when you’ve carried it through its first year of settling and made sure everything that moved got caught while it was still covered. That means a 30, 90, 180, and 365-day walk, a written log with photos, and a final inspection before your guarantee closes. Build the reminder now. In Winchester, the climate will test every seam, so the schedule is what protects the investment. If you’re planning a kitchen, bath, or whole-home remodel and want a written price and a written guarantee before work starts, get in touch.
Ready to put a real number and a real promise on paper? Call Penhallow Remodeling Winchester at (844) 797-9439 for a free estimate. Every project comes with a written price before any work starts and our 365-Day Done Right Promise backing it up. Our technicians have up to 22 years of experience, and every one of them is background-checked and arrives in uniform.
Written by the team at Penhallow Remodeling Winchester.